

[Fried Chicken Kitchen] Puff lovers, do you want to know how to make puffs in a fancy way?
Actually, puffs are a dessert with a particularly high success rate, especially simple ice cream puffs. The prepared puffs are eaten with ice cream, and they are so refreshing.
The recipe is transferred from Junzhi's recipe: 3 eggs, 100 grams of low-gluten flour, 160 grams of water, 80 grams of butter, 1 teaspoon of sugar, and half a teaspoon of salt.
*Although the recipe says that you can replace the butter with vegetable oil.. but I think butter is the most fragrant! !
Mix the basic puff batter:
1. Put water, salt, sugar, and butter together in a pot, heat over medium heat and keep stirring. When it boils, turn down the heat and pour all the low-gluten flour into it. This temperature can make a hot batter.
2. Stir with a spatula to fully mix the flour. You can use a few chopsticks to stir together. Be sure to stir quickly until all the flour and water are combined and then turn off the heat.
3. When the batter is cool enough to not be too hot, you can add the egg mixture.
*The egg liquid must be small and several times, so that the batter will absorb the small amount of eggs added first. Stir until the batter absorbs all the eggs, and then add the next time
4. Use chopsticks to stir up the batter, the batter will have an inverted triangle shape and will not slip off. This level is OK.
Baked puffs:
Squeeze it into balls with a piping bag, or take a fresh-keeping bag and cut a slit at the bottom to use as a piping bag. It is best to squeeze out the same size, so that there will be no burnt and undercooked at the same time when baking.
Add the puffs to a preheated 210°C oven. Bake for 10-15 minutes. When the puffs start to grow, lower the temperature to 180 degrees and continue to bake for 20-30 minutes for 20-30 minutes
*It's okay to bake the puffs a little longer, but they must be cooked, otherwise not only will they not taste good, but they will collapse when they are out of the oven.
*Remember not to open the oven door in the middle of baking, it will affect the development of the puffs
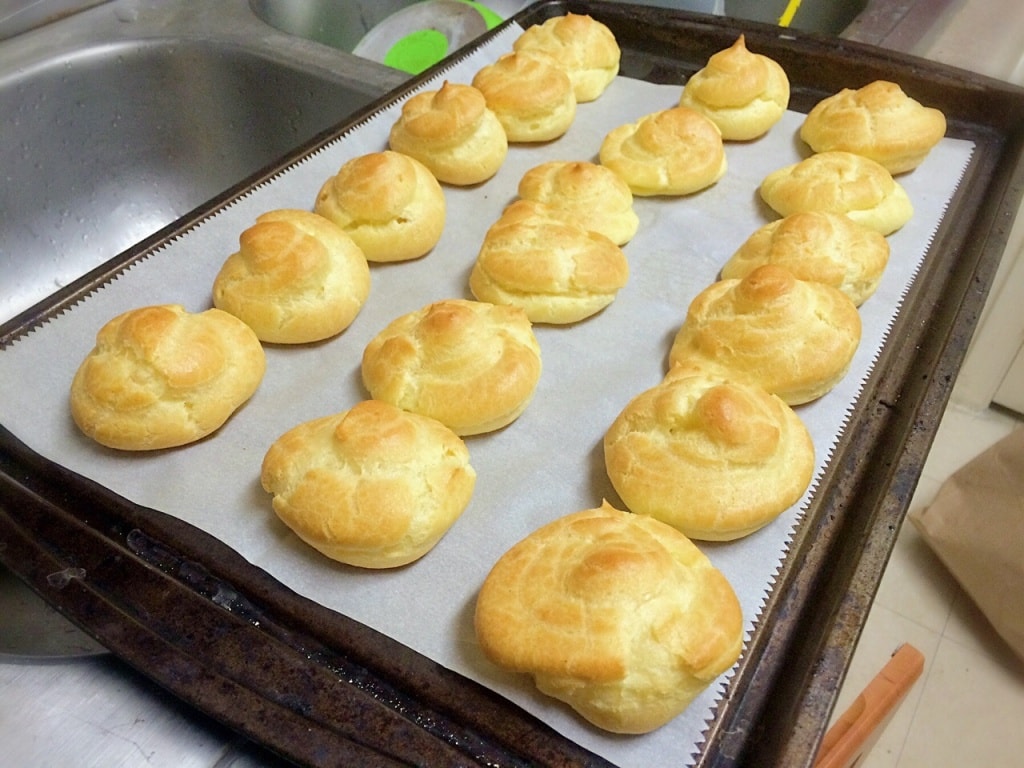
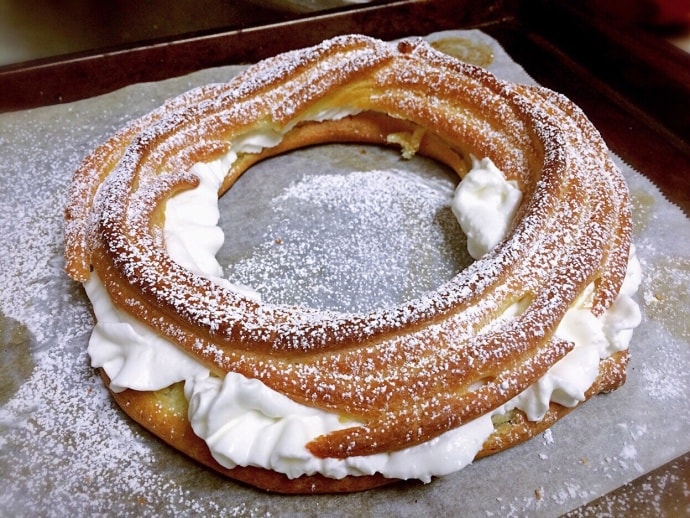
This is a bit ugly. It was the first time I made it. The puffs were a little uneven, but the taste was not bad!
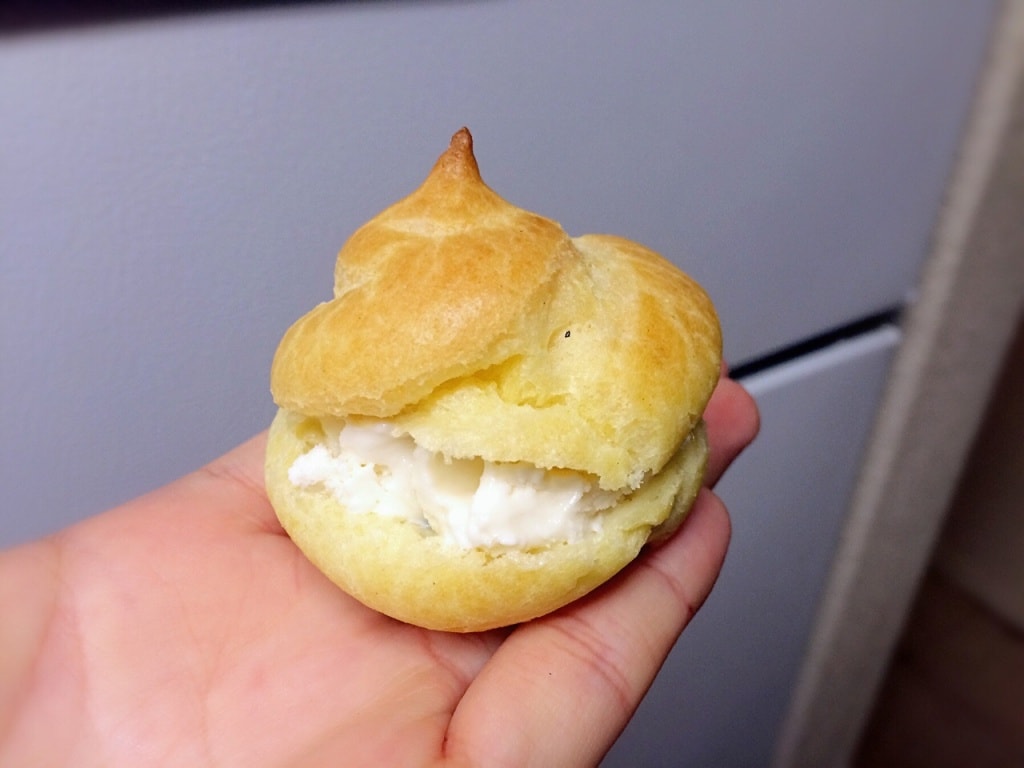
Finally is my favorite! Puff pastry!
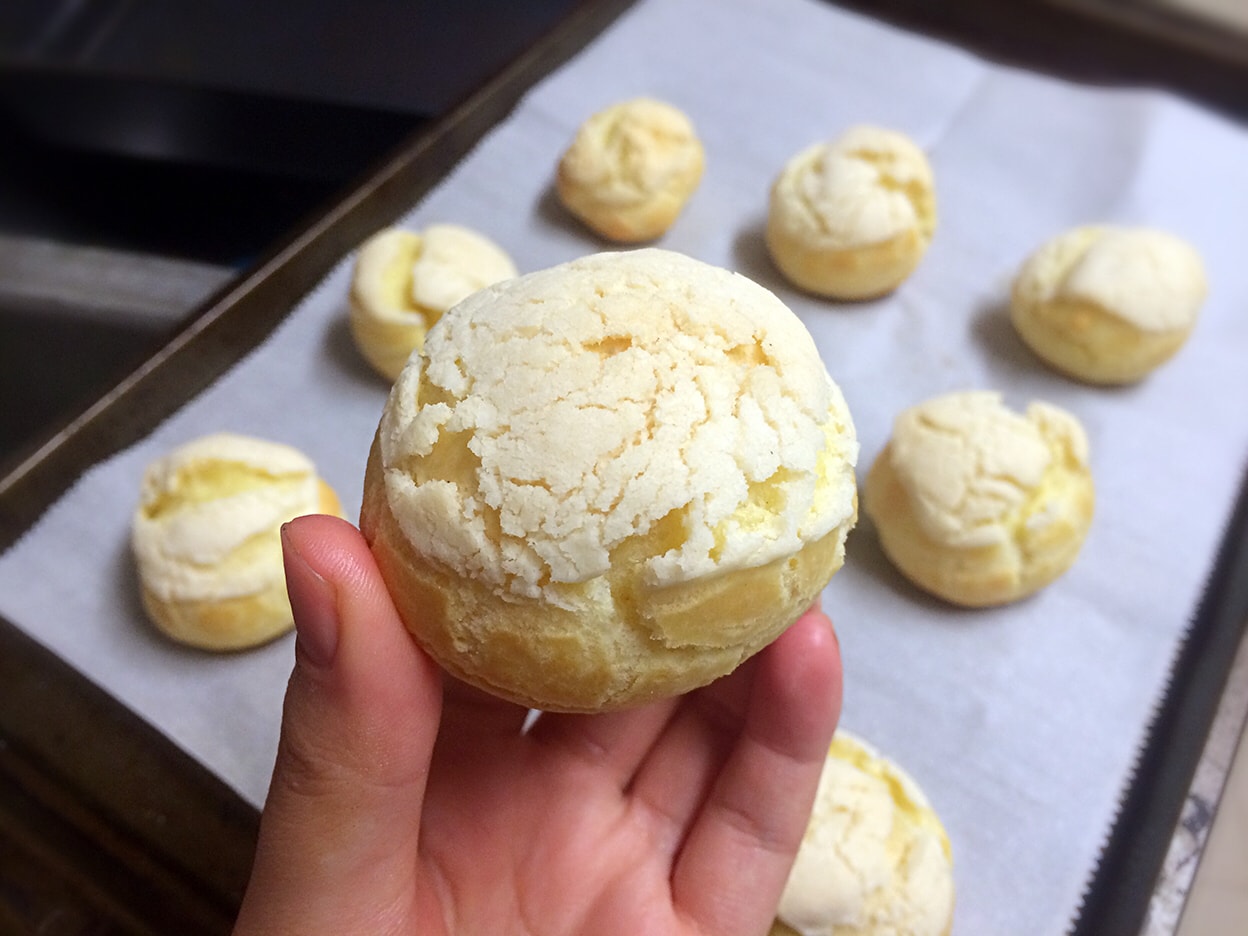
Don't look at it looking complicated, it's actually just a "little hat" on an ordinary puff.
Only three ingredients are needed for the puff pastry~ Butter 80G , powdered sugar 55G, low-gluten flour 100G.
After softening the butter at room temperature, add the sugar and mix well. Sift in the low-gluten flour and mix well. When it is forming a cylinder, put it in the refrigerator to freeze and set, and then you can cut it into slices and cover it with meringue! (as shown below)

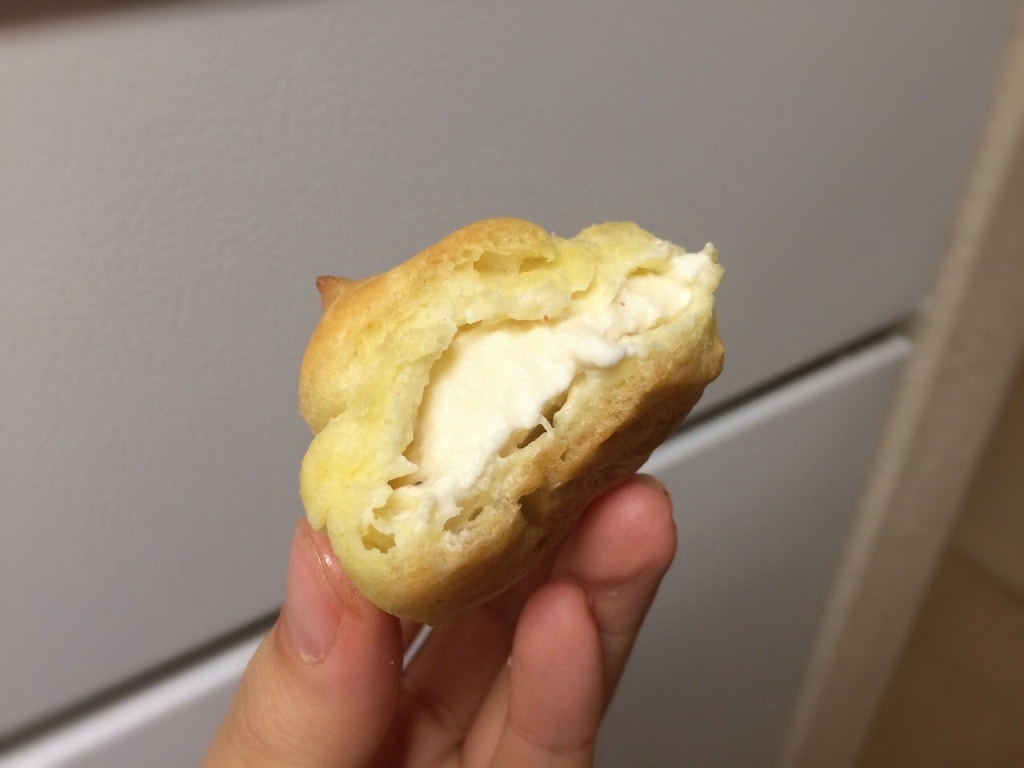
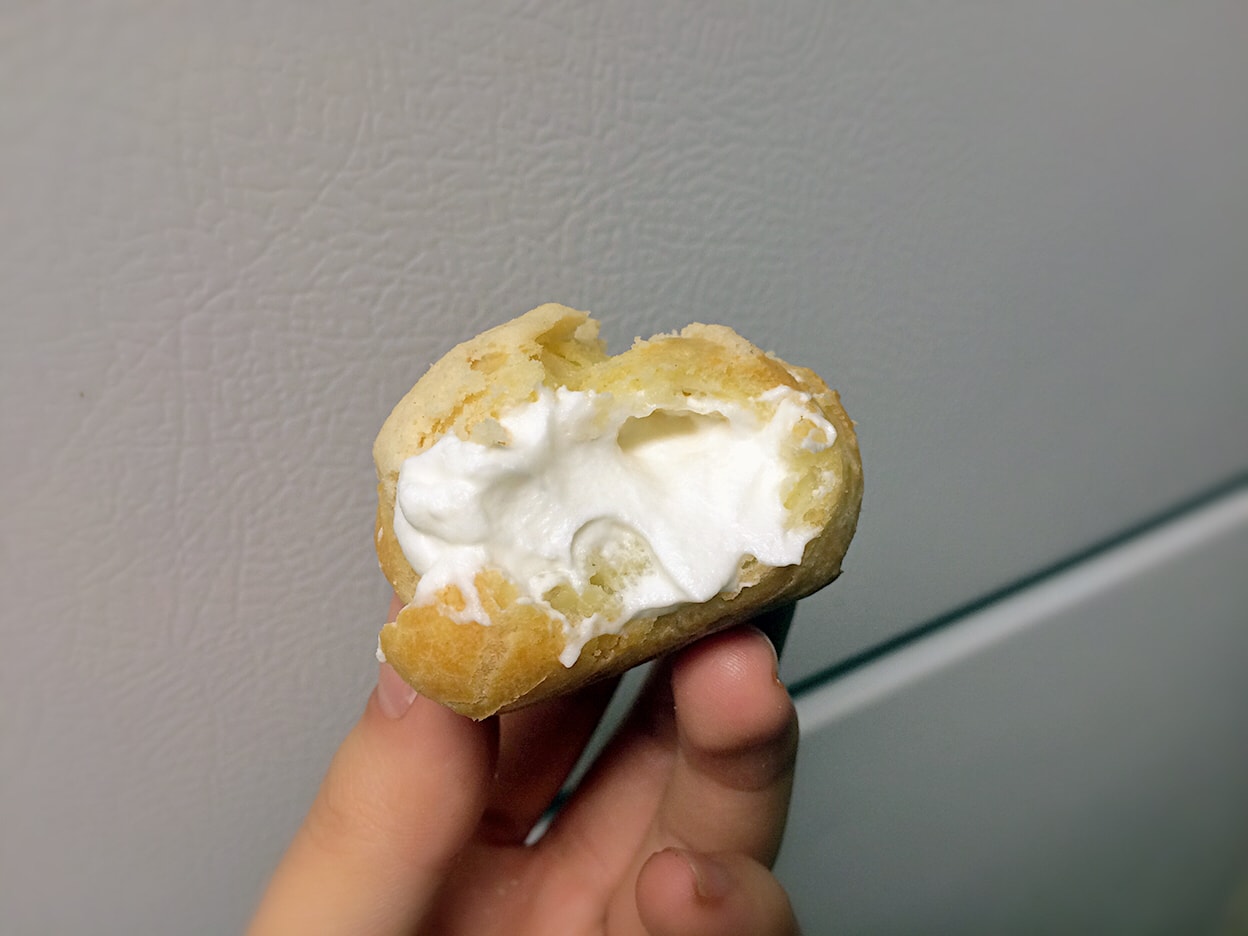
Take a chubby puff~ One bite will burst pulp!
 Show Original

【炸鸡厨房】泡芙爱好者们,花式做泡芙了解一下?
其实泡芙是一个成功率特别高的点心,特别是简单的冰激凌泡芙。做好的泡芙夹上冰激凌吃,简直爽到飞起。
做法转自君之的菜谱: 鸡蛋 3个, 低筋面粉 100克, 水 160克 , 黄油 80克 , 糖 1小勺 , 盐 半小勺。
*虽然方子里写可以把黄油换成植物油..但是我觉得还是黄油最香啊!!
拌基本泡芙面糊:
1. 水、盐、糖、黄油一起放入锅里,用中火加热且不停搅拌,等煮到沸腾的时候,转小火,吧低筋面粉全部倒进去。这个温度可以做成烫面的面糊。
2. 用刮刀搅拌使面粉完全混合进去,这里可以用几根筷子一起搅。一定快速的搅拌到面粉全部和水分融合在一起再关火。
3. 等面糊降温到不太烫手的时候,就可以加入鸡蛋液。
*鸡蛋液一定要少量多次,这样面糊才会吸收先的加入的少量鸡蛋,完全搅拌到面糊把鸡蛋都吸收以后,再加下一次
4. 用筷子挑起面糊,面糊呈倒三角形状并且不会滑落。这个程度就表示OK了。
烤泡芙:
用裱花袋挤成一个一个圆球就可以挤了,或者拿个保鲜袋,下面剪一个口子也可以当裱花袋。挤出来的最好是大小一致,烤的时候才不会有的焦的和没熟的同时出现。
预热好210度的烤箱里加入泡芙。烤10-15分钟。当泡芙开始长大之后,把温度降低到180度,继续烤20-30分钟就可以啦
*泡芙稍微烤久一点点没关系,但一定要烤熟,否则不但口感不好,出炉后会塌。
*烤的中途切记不要打开烤箱门,影响泡芙发育


这个做的有点丑,当时是第一次做,挤的泡芙有点不齐,但是味道不差的!

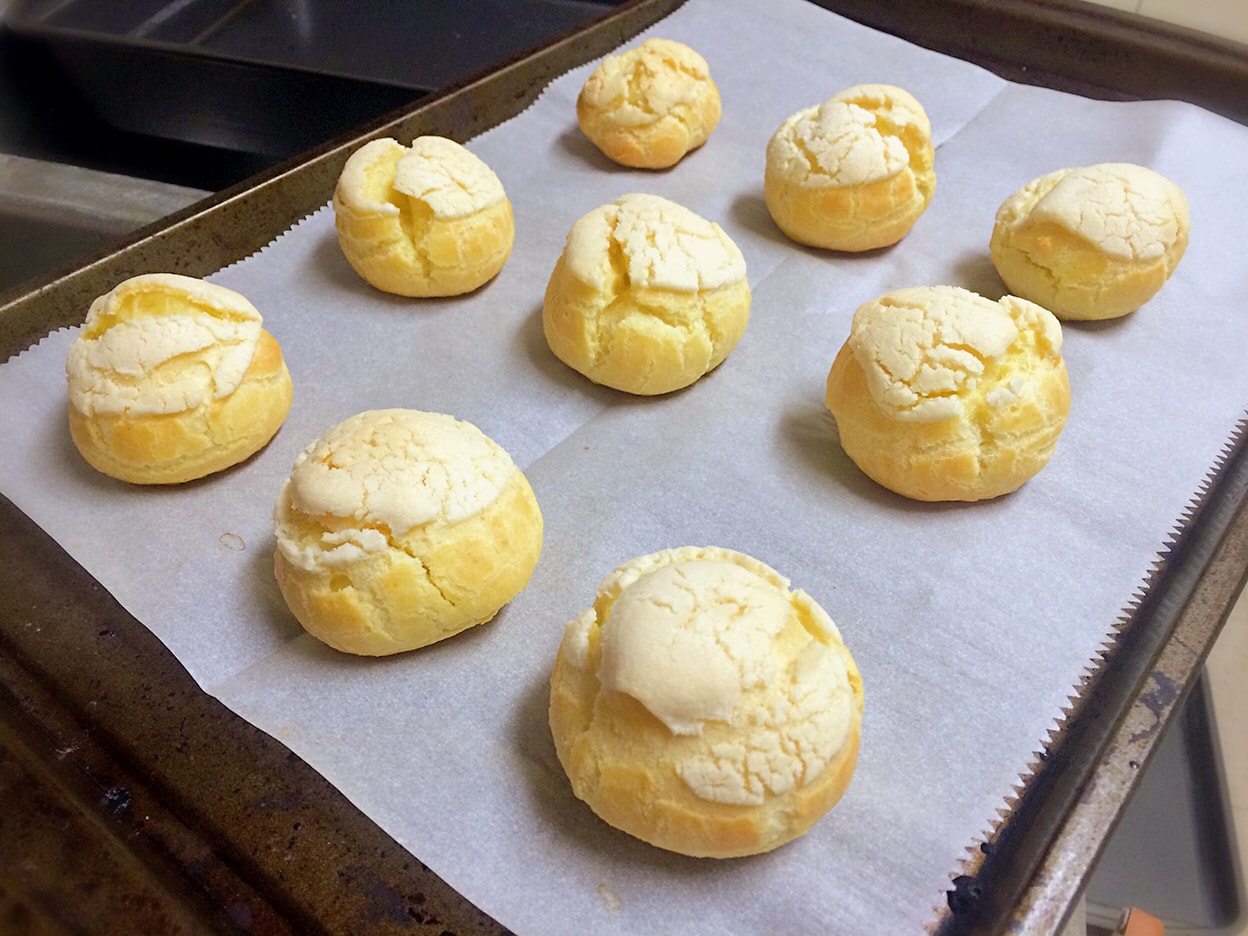
最后是我的最爱!酥皮泡芙!
别看它看着很复杂,其实就是普通泡芙盖上一个“小帽子”。
上面的酥皮只需要三种材料~黄油 80G ,糖粉 55G ,低筋面粉 100G。
黄油室温软化之后加入糖分混合均匀,筛入低筋面粉,翻拌均匀。正形成圆柱体放入冰箱冻定型,之后就可以切成一片一片的酥皮盖在上面啦!(如下图)


拿一个胖乎乎的泡芙~里面一咬还会爆浆哦!