


Fork Mooncake Review - Homemade Snowskin Mooncake
Made last year36snowy mooncakesꉂ೭(˵¯̴͒ꇴ span>¯̴͒˵)౨”
The long story I just finished flashing back without saving…I'm so tired ˃̣̣̥᷄⌓˂̣̣̥᷅
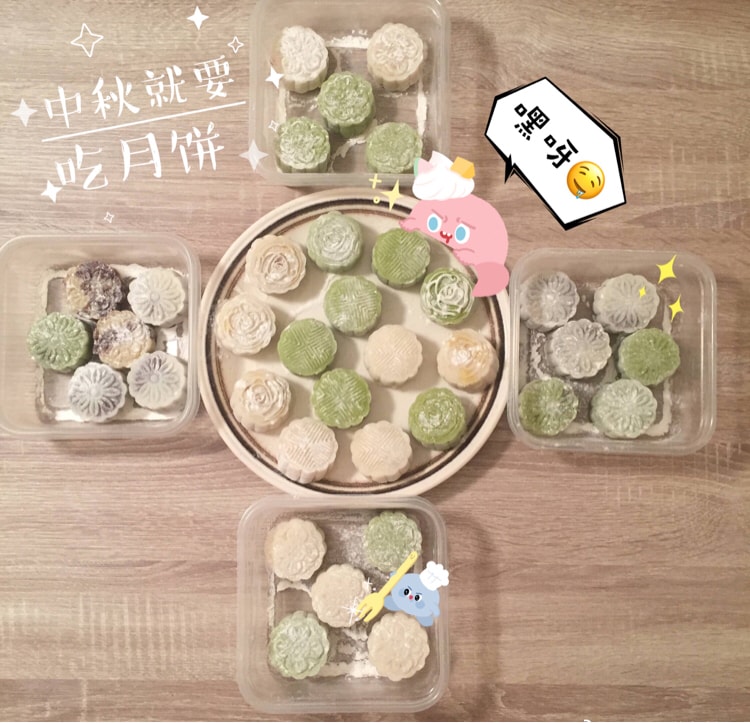
Just arrived in the US last year < span class="s1">Just started cooking Thinking about doing things in the kitchen all day The Mid-Autumn Festival is here I made a lot of moon cakes and distributed them to my friends in the department
Make original and matcha skins < /span>Red Beans Three fillings of mung bean and custard and chestnut kernel
Snowy mooncakes are actually relatively easy to make No need to go into the oven, just steam it
Use peeled mung beans when making the mung bean filling I didn't know there was such a thing After soaking the mung beans in water, I peeled and r0 the mung beans with my hands for almost an hour! ! ! ! ! !
Cook peeled mung beans until almost dry span>Add sugar and mix well
Put oil in a pan and turn on low heat 0 span0Pour in mung beans Stir frying Add a small amount of oil several times during the frying process
Fry the mung bean until it becomes bean paste-like and slightly dry.
Same for red bean paste < span class="s9">But red beans do not need to be peeled
If you like the graininess of red beans, don't crush them too much
Custard filling:
100gButter softened and smoothed Add50gwhite sugar Whip until doubled in size< /span>
Add four eggs in four additions span>Mix the eggs and butter well every time
Add80gmilk powder and40gClarified flour and mix well until there are no particles Then heat in water until fully mixed
Steam with lid on10minutes Turn every five minutes Then lift the lid and stir until completely set and slightly hard ready to serve p>
Cut chestnuts in small pieces Mix the custard filling and knead evenly
Snowskin:
30gCheng powder 50gglutinous rice flour 50gglutinous rice flour 50gMix the powdered sugar evenly Add230gmilk and mix until grain free
Add30gcorn oil and30gCondensed milk and mix well
Pour into a steaming bowl and steam over high heat25minutes During this process, all the oil in the batter will float to the surface
Use chopsticks to spread the batter Wear gloves when cool to a non-hot temperature(non-stick< span class="s2"> really sticky)Knead the dough until all the oil is incorporated
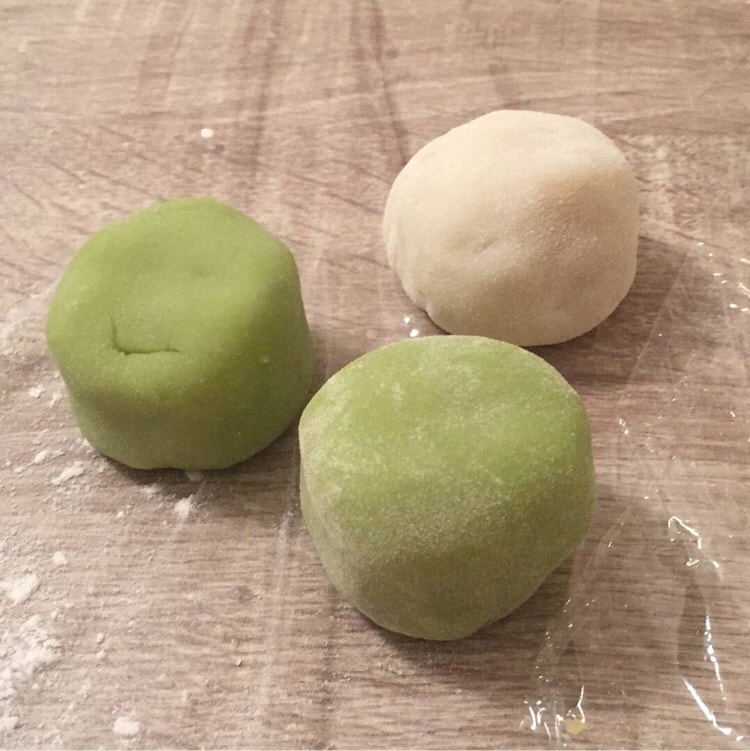
Because I made two flavors of ice skin So here I split the dough in two One portion of original flavor and one portion of matcha powder and kneaded into matcha flavor
Cake Flour:
Cake flour is cooked glutinous rice flour Fry the glutinous rice flour with low heat until it is slightly fragrant or microwave for three minutes
Cake flour is used to prevent snowy mooncakes from sticking to hands and sticking to each other
Then divide the dough and filling into small balls according to25g Another piece of dough and a filling to wrap them around Get up coat with flour This is ↓↓↓
Then take out the mold AmazonBought 10Knife Left and Right There are four Flower type
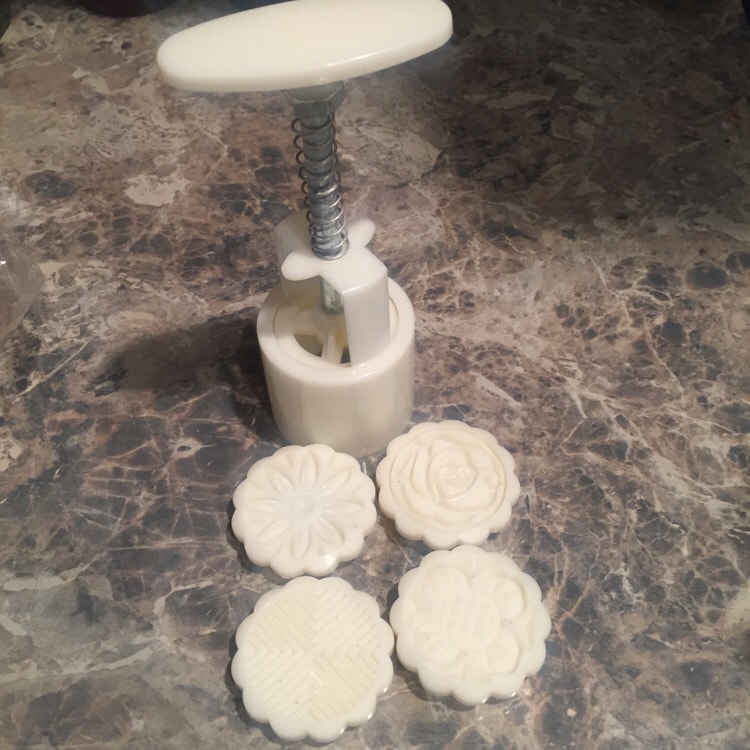
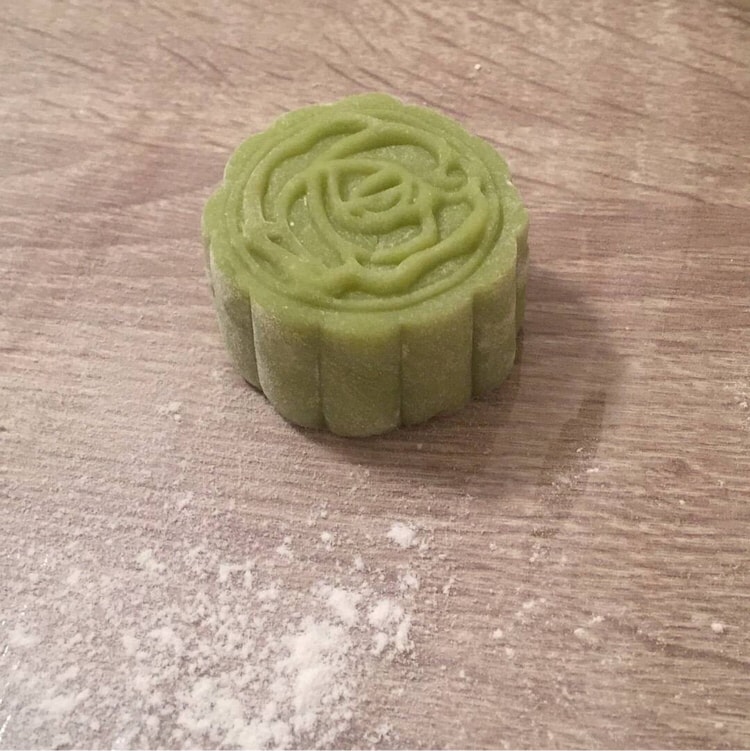
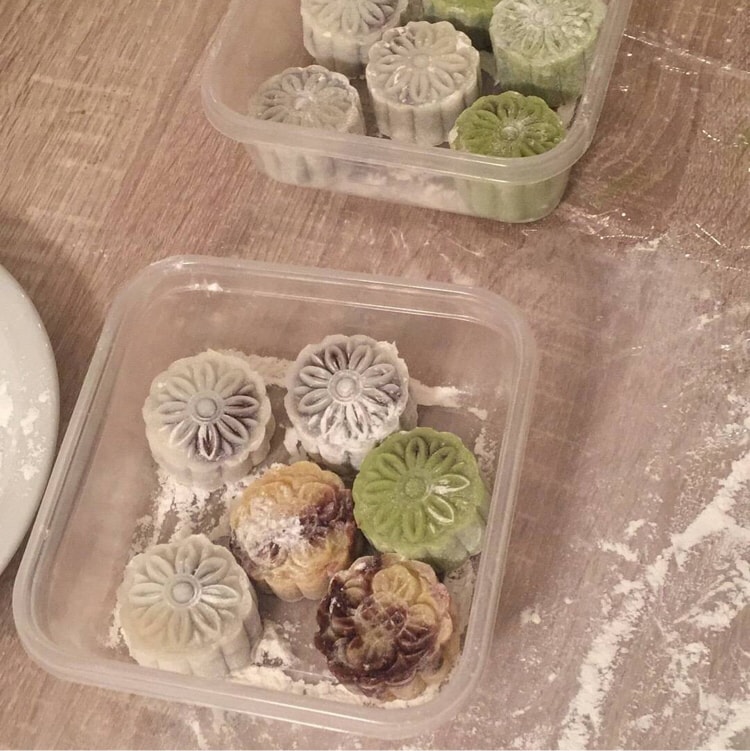
Flour flour into molds Then put the mooncake balls into the mold Press A snowskin mooncake is ready😝
(ー̀дー́)Not good!Two traitors mixed in with us
The two yellow and yellow pieces in the box below are red bean and mung bean cakes made of extra mung bean filling and red bean filling
This tells us that the snowskin mooncake mold can also be used to make other desserts~
The thickness can be controlled by yourself(•̀ω•́)✧
Wish everyone a happy Mid-Autumn Festival in advance😆
 Show Original

叉叉月饼测评——自制冰皮月饼
去年做的36个冰皮月饼ꉂ೭(˵¯̴͒ꇴ¯̴͒˵)౨”
刚刚打完的长篇大论没有保存就闪退了…心好累˃̣̣̥᷄⌓˂̣̣̥᷅
去年刚到美国 刚开始做饭 整天就想着在厨房搞事情 正好中秋节到了 就自己做了好多月饼分给系里的小伙伴
做了原味和抹茶两种皮 红豆 绿豆和奶黄栗仁三种馅儿

冰皮月饼其实还是比较容易做的 不用进烤箱只需要蒸一蒸
绿豆馅做的时候用去皮绿豆 我当初不知道有这种东西 绿豆泡水后用手搓绿豆去皮搓了我快一个小时!!!!!!
煮去皮绿豆到差不多水干 加入糖拌匀
锅里放油开小火 倒入绿豆 不断翻炒 炒的过程中多次少量加油
炒到绿豆成豆沙状微干就可以出锅了
红豆馅同理 不过红豆不用去皮
如果喜欢红豆的颗粒感不用压太碎
奶黄馅:
100g黄油软化后打顺滑 加入50g白砂糖 打发至体积增大一倍
分四次加入四个鸡蛋 每次都要让鸡蛋与黄油充分混合
加入80g奶粉和40g澄粉拌匀到没有颗粒 然后隔水加热到完全混合均匀
盖锅盖锅蒸10分钟 每隔五分钟翻拌一次 然后揭开锅盖一直翻拌到完全凝固微微硬 就可以盛出备用了
栗仁切小块 混入奶黄馅揉均匀
冰皮:
30g澄粉 50g粘米粉 50g糯米粉 50g糖粉混合均匀 加入230g牛奶混合至无颗粒
加入30g玉米油和30g炼乳搅拌均匀
倒入蒸碗大火蒸25分钟 这个过程中面糊中的油会全部浮到表面
用筷子把面糊搓散 凉至不烫手的温度时戴手套(防黏 真的很黏)揉搓面团到把油全都揉进去
因为我做了两种口味的冰皮 所以这里我把面团分成两份 一份原味一份加入抹茶粉揉匀成抹茶味
糕粉:
糕粉就是熟糯米粉 把糯米粉用小火炒出微微香味或者微波炉叮三分钟都可以
糕粉是用来防止冰皮月饼黏手和它们相互黏连的
然后把面团和馅儿全部按25g分成小团 再一个面团配一块馅儿地把它们包起来 面上裹上点糕粉 成这样↓↓↓

然后拿出模具 Amazon买的 10刀左右 有四种花型

模具里撒点糕粉 然后把月饼团放入模具 压一压 一个冰皮月饼就做好啦😝

(ー̀дー́)不好!我们之中混入了两个叛徒
下面那个盒子里的黄黄的两块是多余的绿豆馅和红豆馅做的红豆绿豆糕
这告诉我们冰皮月饼模还可以用来做别的点心~
厚度可以自己控制哦(•̀ω•́)✧

提前祝大家中秋节快乐啦😆


小野菊
September 13, 2018
I want to go to Chacha's house to rub mooncakes
想去叉叉家蹭月饼
行走的MoMo
September 12, 2018
Typing with the app often crashes and crashes. It is recommended to write it first and then copy it.
叉叉用app打字經常會閃退,建議先寫好再複製。